What does it mean to white sand a floor? For those who work in the construction field or renovation, this question may seem obvious. Did a question mark pop up in your mind and it was out of curiosity that you clicked on the link to this article? Or maybe you must accomplish this task without quite knowing how? In this article, we will teach you about this simple, but very important process, which is part of the PREPARATION stage before the application of a finishing product.

1. What does ”White Sanding” mean?
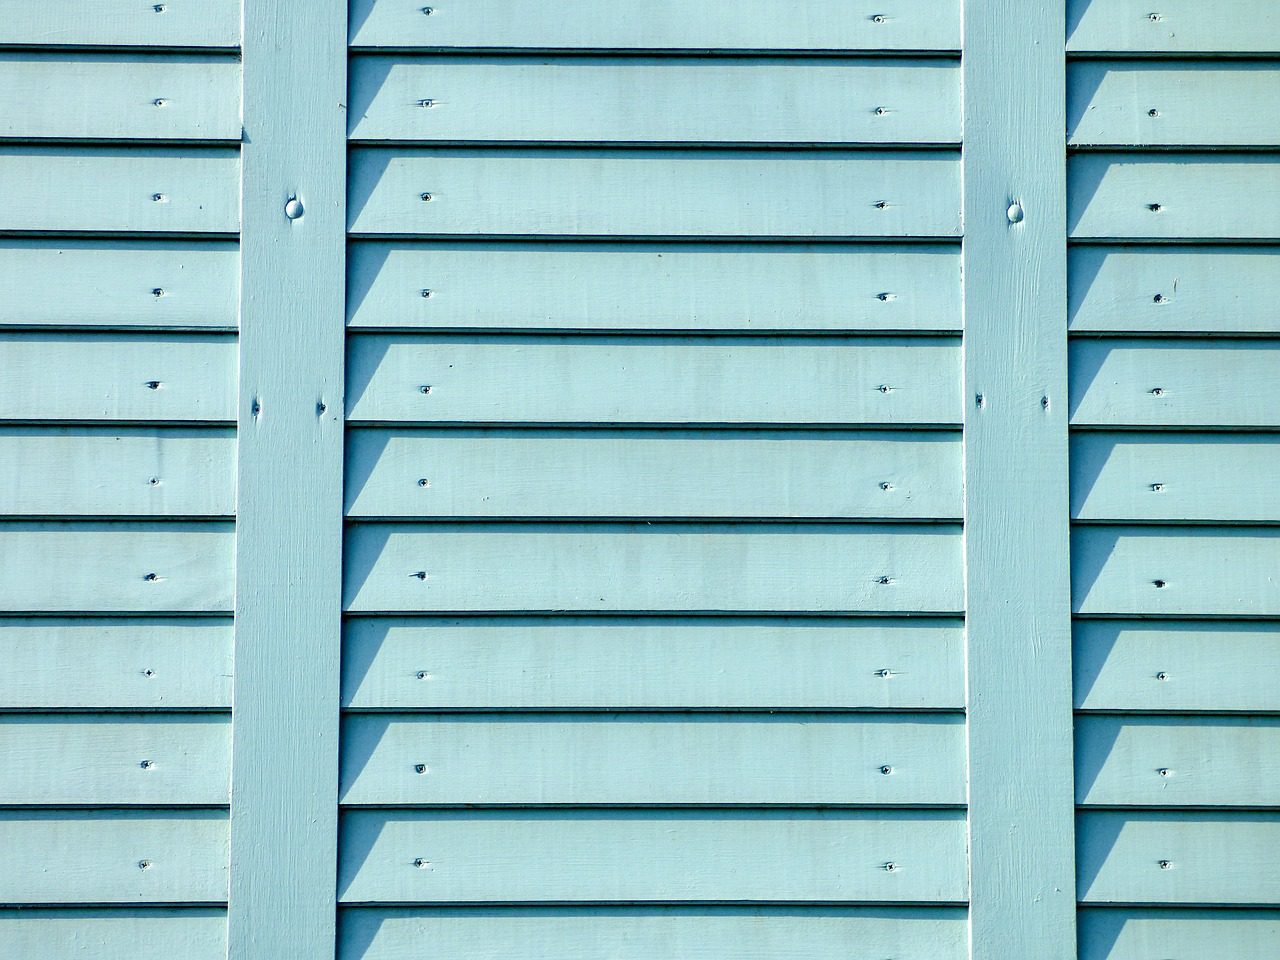
Sanding a floor clean involves removing the top layer of the old, worn finish and exposing the wood underneath. We say “white” because the wood changes colour over time, and it usually becomes a little darker. Sandblasting it will restore its original colour and therefore “pale” it, in other words. It is a process that is mostly done by professionals. It can also be done at home with a few tools and the proper abrasives.

2. Why do we need to White Sand?
There are several reasons why you may need to remove the finish from a wood surface. If it’s scratched or chipping in places, you’ll probably need to remove it. To change your present finish for another, it is also very likely that you will have to white sand. If you want to change the colour of your hardwood floor to a lighter more current stain, you will need to go through this step as well. Finally, and for whichever reason, you’ll have heavy duty sanding to do.
3. Why is it important to properly White Sand a Floor?
The action of sanding wood is quite simple whether it is with a machine or by hand. Probably since it is so simple and dusty, this step is very often done quickly and sloppily. What is important to know is that if the white sanding of your surface is not done correctly, the application of a finishing product will be difficult and imperfect. In the worst case, it is even possible that your finishing product will not adhere or impregnate well to your wood. If so, you may have to start over and redo the sanding step.

We want to save you that hassle, so here are the steps to properly white sand your wood surface.
4. What are the Steps to Properly White Sand a Floor?
STRIPPING (IF REQUIRED)
If you have had water damage or your wood has been exposed to moisture, stains and mould may have set in. Unfortunately, sandblasting may not always remove mould or stains completely. It is then necessary to use a product that will dislodge them before the sanding stage to avoid spreading this dirt on the healthy wood.
It’s the same as if you would want to remove a dye. Since it colours deep into the wood, it is better to use a product that will remove it, rather than sanding the wood until the colour disappears. This is an additional step, but it will cost less sandpaper and will require less energy in the end.
Here are a few products that can come in handy.
CLEANING
First of all, it is important to thoroughly clean and degrease the surface before sanding. Even if you have to buy an additional product to do this, the dirt that has accumulated on your surface will “clog” your paper and you will therefore have to change it more often. Also, if you sand without cleaning with a good degreaser, you will contaminate your wood. Sanding creates micro-incisions on the surface, which can result in deeper penetration of the greasy particles. These residues can cause your finishing product to not adhere well or to penetrate the wood improperly.
Here are Products that can help.
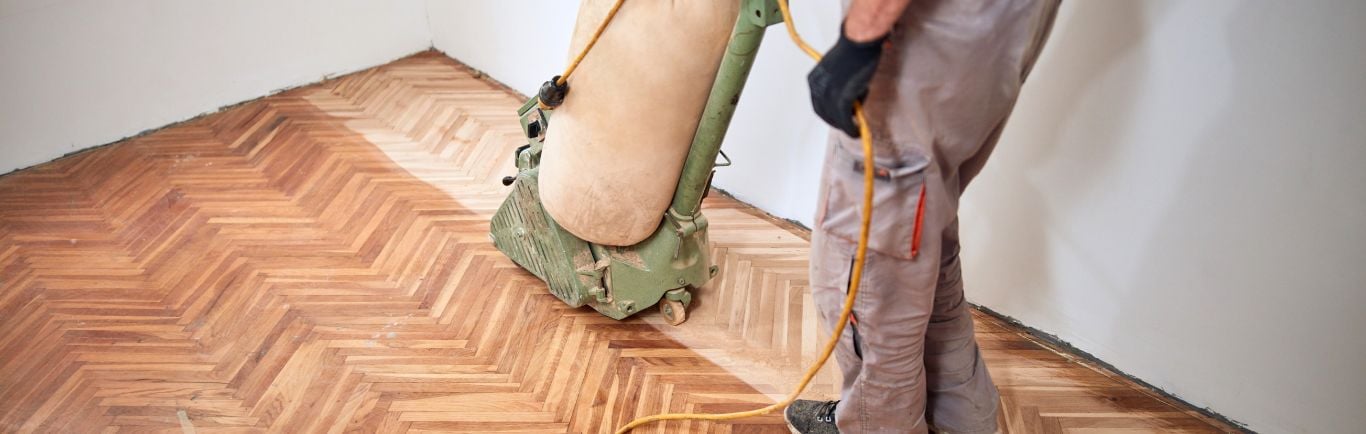
SANDING
SANDING PAPER
A bit of theory to start: Do you know where the nomenclature for sandpaper numbers comes from? They are determined by the number of grains per square inch. The smaller the number on a sandpaper, the coarser the grain will be. The higher the number, the softer the grain will be. Sandpaper can be used for both sanding and polishing a surface. It all depends on the grain size used.

You won’t be able to do the job effectively with just one size of sandpaper. You will need several different grains depending on the steps.
Here are Products that can help.
FOR AN INDOOR SURFACE:
Best-case scenario, you have cleaned your surface, and now you need to white sand. To do this, you will ideally start with a 36 to 60 grit. Be sure to completely remove the old finish. When the wood sanding is complete, you can fill the holes and imperfections with an appropriate putty.
Afterwards, you must go a second time with an 80-grit to even out the surface and erase the sanding scratches. To finish, you will pass one last time with 100 to 120-grit paper, according to the manufacturer’s instructions for the finishing product you have chosen to apply. Even if the wood is new and leaves the factory, it is strongly recommended to sand it with a grain of 100 or 120 to even out the surface and therefore ensure good adhesion of the product.
When wood is planed, it is often "glazed" by the metal knives on the planer. In addition, the knives spread the wood’s resin onto the surface, creating a glaze that blocks absorption.
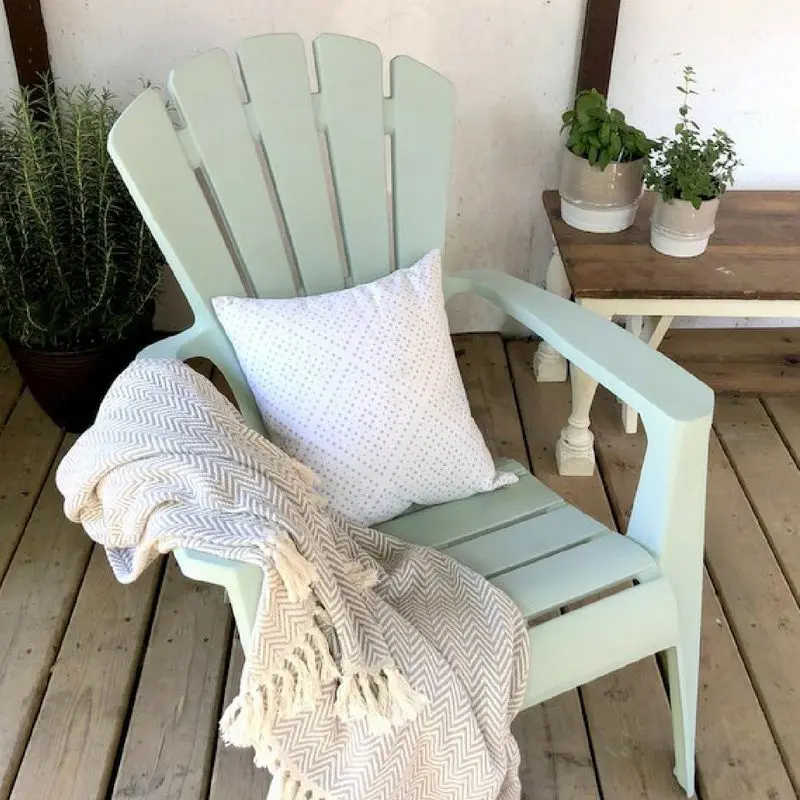
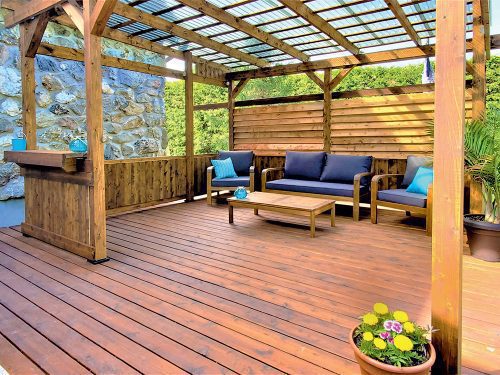
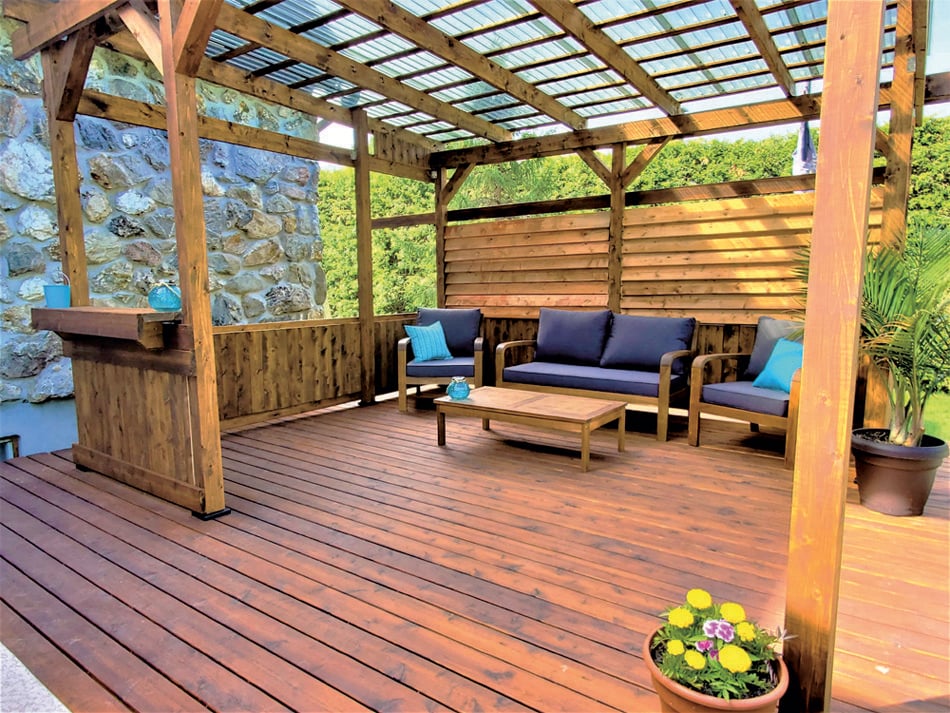
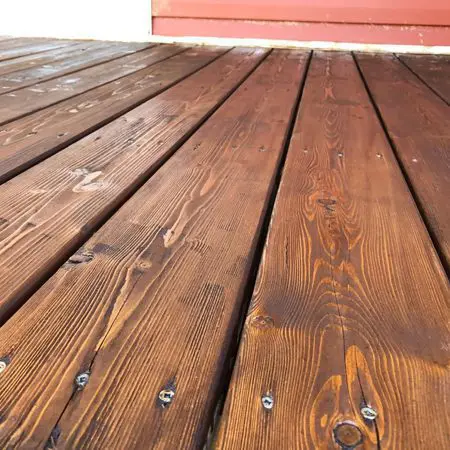
FOR AN OUTDOOR SURFACE:
The wood used outdoors, known as “treated”, is already protected against mould. If it is new, it would be better to wait a year before covering it with a finishing product to allow time for the wood and the treatment product to dry properly. If it is already a coated wood, you will need to do the stripping and cleaning steps before sanding. To remove the old finish, you will need to start with a 36 to 60-grit paper. Thereafter, you will need to use the grit size that is recommended by the manufacturer of the finishing product that you will apply to your surface.

Conclusion
All stages of product application are important, but we wanted you to realize that proper preparation remains the key to a successful project. If you intend to sell your property in a few years, it is good to think about updating the décor and this includes refinishing your hardwood floors. This will increase the value of your home without costing a fortune. At any time, you can call on the professionals, but by having read this article, you can be sure that the preparation work has been done well.
SANDING YOUR HARDWOOD FLOOR
SABLER SON PLANCHER DE BOIS FRANC
Comment appliquer de l’huile naturelle monocouche pour protéger un plancher